Published October 16, 2023
DIY Art Display Ledge

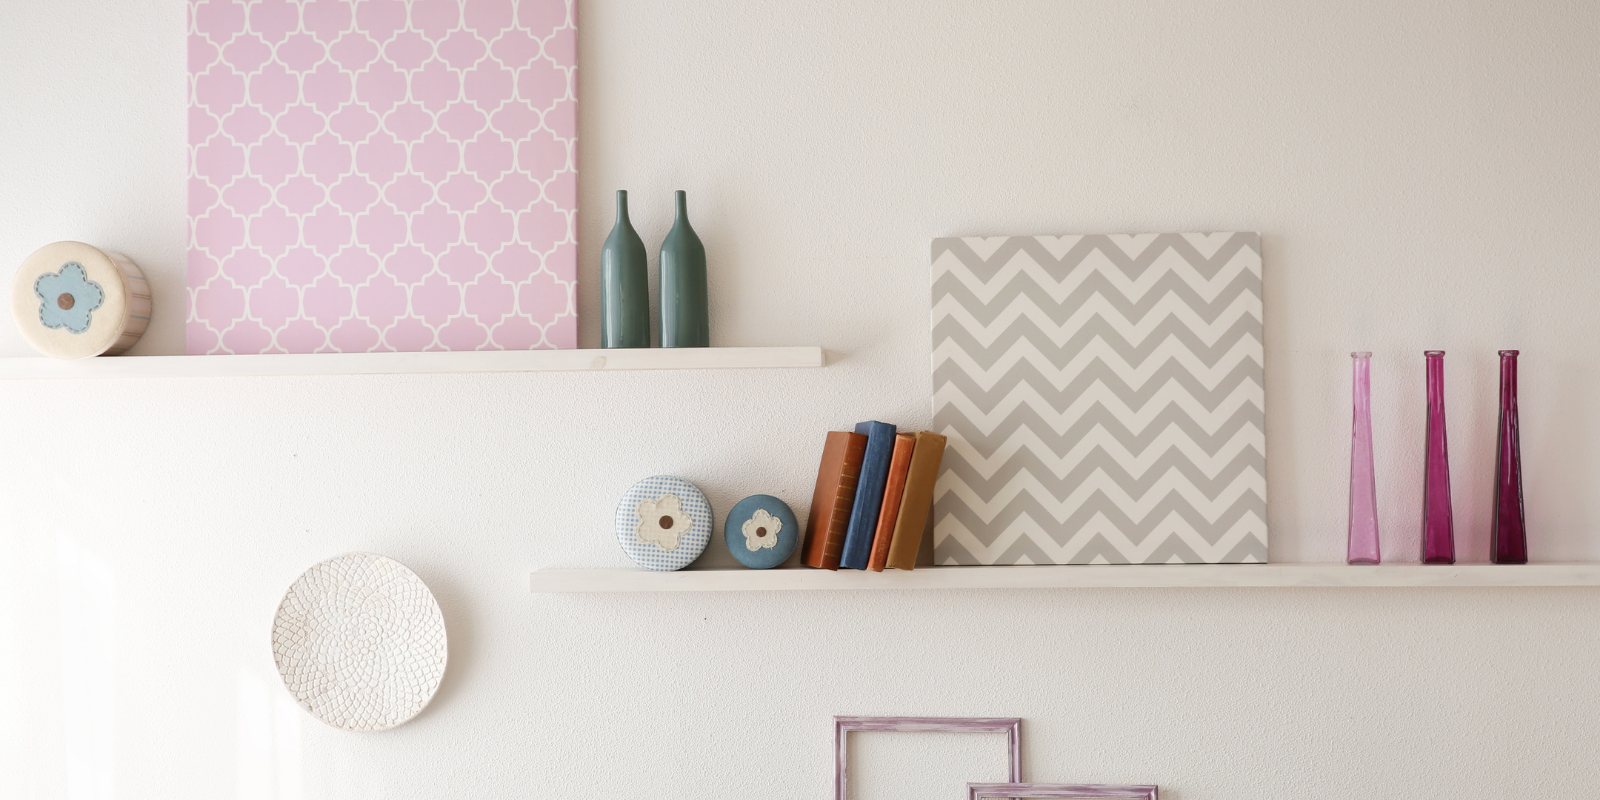
This simple DIY display ledge is a great way to showcase your favorite art – without putting a ton of nail holes in your wall! And what’s even better is you can easily adjust it to fit the size and dimensions to fit your space.
We found this tutorial from Kaleidoscope Living.
Supplies You’ll Need for Your DIY Display Ledge
Wood of your choice (we used red oak)
We used 1 x 4s to form the back of the ledge, 1 x 6s to form the bottom of the ledge, and 1 x 2s to form the front of the ledge
You can have all of your wood cut to length at the store if it's easier for you
Wood glue
Clamps
Screws and drill driver
Handsaw or electric saw if you plan to cut the wood yourself
Steps to Make Your DIY Display Ledge
Step 1: First step is to measure your space and decide what length you want your display ledge to be.
Step 2: Take your measurements to your local lumber or home improvement store and pick out your wood. You might even be able to have them cut it for you.
Step 3: Cut all your wood pieces to the same length.
Step 4: Finish your wood to your liking.
Step 5: Attach the bottom piece to the back piece using wood glue and screws. Use your clamps to keep the pieces together as you drive the screws in. Repeat for the front piece.
Step 6: Find the studs in your wall and attach your ledge.
Decorating Your Display Ledge
My favorite thing about this DIY display ledge is the ability and ease you can change your art out. Whether you choose to display family photos, your kids' artwork, or a large canvas print, you can swap out your art to fit whatever mood (or season) you’re in!
Find homes in San Antonio here
Home is where the heart is. Let us help you on your search for peace and comfort in your own home.
Search for Homes
Get Your Free Ultimate Guide to Living in San Antonio
|


or another way